

Color Experimenting Recipe Cards:
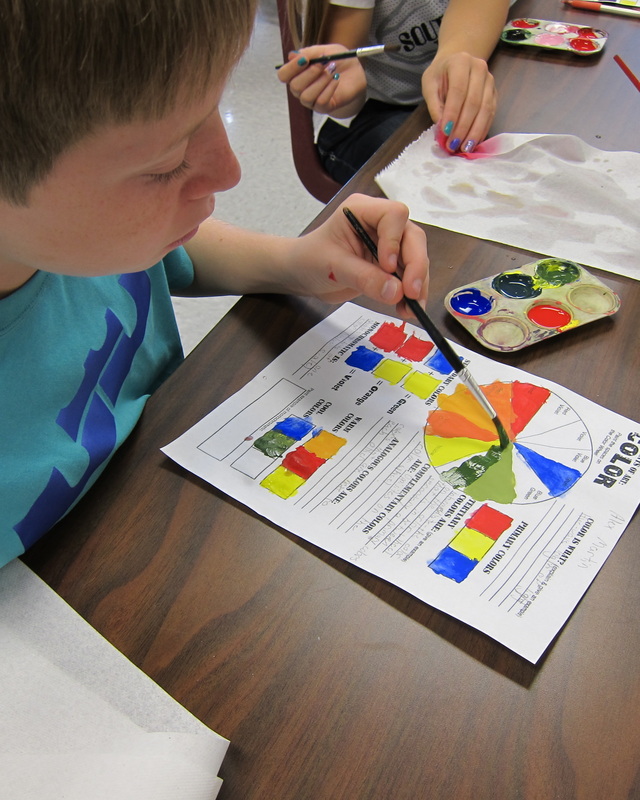
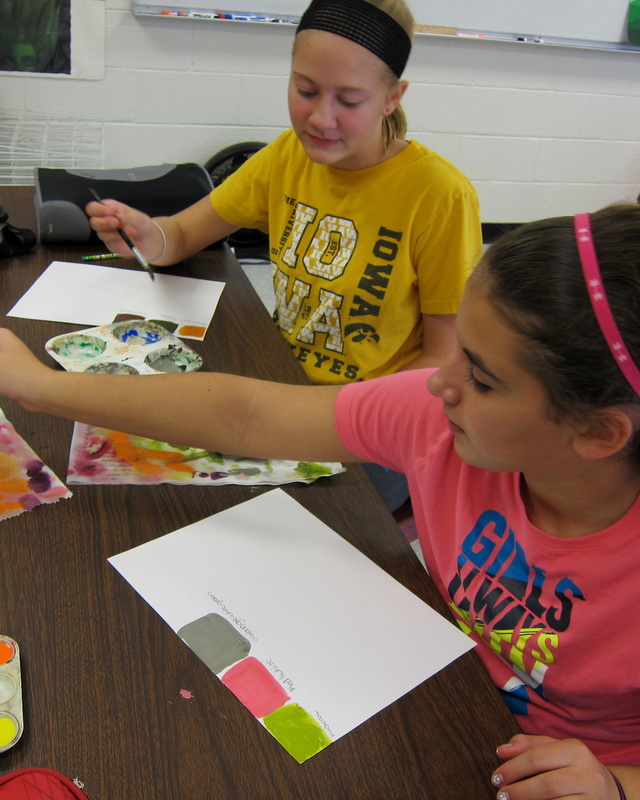
After we spent a couple days reviewing and paintings color wheels, I figured the students needed a little break to "just have fun" with paint. So I let them just experiment, time to test out any combinations of colors that they wanted. The catch was that they had to create a "recipe card" so that they could make that same color again. They had to give it a name and write down the colors they mixed to make it. Some of the names they came up with for each new color were pretty wacky! :)
After we spent a couple days reviewing and paintings color wheels, I figured the students needed a little break to "just have fun" with paint. So I let them just experiment, time to test out any combinations of colors that they wanted. The catch was that they had to create a "recipe card" so that they could make that same color again. They had to give it a name and write down the colors they mixed to make it. Some of the names they came up with for each new color were pretty wacky! :)


Magnified Leaf Paintings:
Before we started this project, the students learned about the work of Georgia O'Keeffe, an American artist known for her "almost abstract" paintings of magnified objects in nature, particularly flowers and bones.
Then they chose a leaf (out of a bunch I had gathered outside) and drew a couple small sketches of different close-up angles of their leaf. We used a grid system to draw one of these sketches to a larger paper and they painted in their leaves. They were strongly encouraged to look closely at the leaf for the different shades of colors and veins to add details to their paintings. They also had to paint the background the complement of their leaf color.

"The Scream" Tunnel Books:
The project took quite some time to finish. First we looked at Edvard Munch's artwork "The Scream" and talked about the elements/principles of design they saw in it. Plus, we touched on interpretation and what emotion they thought the artist wanted to portray.
Before they made their own picture, I had the students type up a two paragraph story of a time that they were scared and screamed. This took longer than I'd planned because I didn't realize they are not as fast at typing as me. :) Whoops! Also, I had some students claiming they've never been scared or screamed before...and since it was around Halloween, I took it as an opportune time to show them this video. So if your student came home going on about how mean Ms. Holcomb is...well, they needed something to write their story about. Haha! I scare because I care. :)
Next, the students drew out and colored their own Scream picture, with a self portrait of themselves screaming, in pastels. For a tunnel book, the image was separated into different pages and then assembled so that the picture looks more 3-dimensional. It took awhile to do all the measuring and to glue them together, but overall, they looked very nice when finished.


Post Secret: Raising Awareness about Bullying:
One week the whole school had a presentation from Mr. Brown about bullying, so I thought it would be a great time to do a project I was inspired by from the Art Conference in Cedar Rapids I went to in October. First, I showed the students a couple videos:
One week the whole school had a presentation from Mr. Brown about bullying, so I thought it would be a great time to do a project I was inspired by from the Art Conference in Cedar Rapids I went to in October. First, I showed the students a couple videos:
We spent a little time discussing the sensitive issue of bullying and how to define it. I then introduced Frank Warren, an artist who did a project where he gathered "secrets" from people as post cards. The senders decorated their post cards and he put them together into books as an art form...and found that these confessions helped to Unite people.
I didn't want the students to reveal a deep dark student, but told them to choose a word of phrase and decorate their small poster along that theme, similar to many of the post secrets. This is the example I showed them on the board of an idea I had and my thought/work process. Finished example on the right:
I didn't want the students to reveal a deep dark student, but told them to choose a word of phrase and decorate their small poster along that theme, similar to many of the post secrets. This is the example I showed them on the board of an idea I had and my thought/work process. Finished example on the right:

Even though some students had been hounding me for a more "open ended" project, a lot of them struggled to think of ideas on their own and I found that many did something very similar to mine. ;) However, there were some awesome things that came out of this projects and I got to have some great revealing conversations with a few students and encourage them. The students were very receptive to the idea of this project and I am so proud of their work! 8th grade also did this project.

Bad Hair Day Project:
I initially found this idea through my mom as a quick sub plan for a day I was gone. However, it soon became one of my favorites out of the projects we've done.
The 7th grade started by making hair/beards with at least 5 different line patterns. I then introduced them to facial proportions and they added the eyes, nose, and mouth. Lastly, they traced their lines with permanent markers and colored them in. The results were very silly, and incredibly creative, wild hair portraits! Too fun!
Portrait Unit:
Contour Line Celebrities:
This was a simple three day project, but the end product was awesome! We reviewed what contour lines are and then the students used acetate plastic film over-top prints of famous people to trace the lines. It was a little challenging to trace just the important lines and not fill anything in.
Next the students did a simple Wet on Wet watercolor painting as the background. When they put the line drawing on top they were stunning! I just love how they turned out!
The students then cut their photocopy of the celebrity and practiced using facial proportions to draw the "Other Half."


Dance Off!
This is too funny not to share. I have a reward chart that looks like a treasure map...the whole class can more forward one space each day depending how well they do on following expectations. When one of my 7th grade classes got to the "X" they shocked me by insisting on having a "Dance Off" for their reward day! I figured it would be one of those things that once I got the music on, they'd all chicken out...but I decided to do it for them anyway. I was wrong, they got really into it and it was a blast.
This is too funny not to share. I have a reward chart that looks like a treasure map...the whole class can more forward one space each day depending how well they do on following expectations. When one of my 7th grade classes got to the "X" they shocked me by insisting on having a "Dance Off" for their reward day! I figured it would be one of those things that once I got the music on, they'd all chicken out...but I decided to do it for them anyway. I was wrong, they got really into it and it was a blast.